Start here
The interface
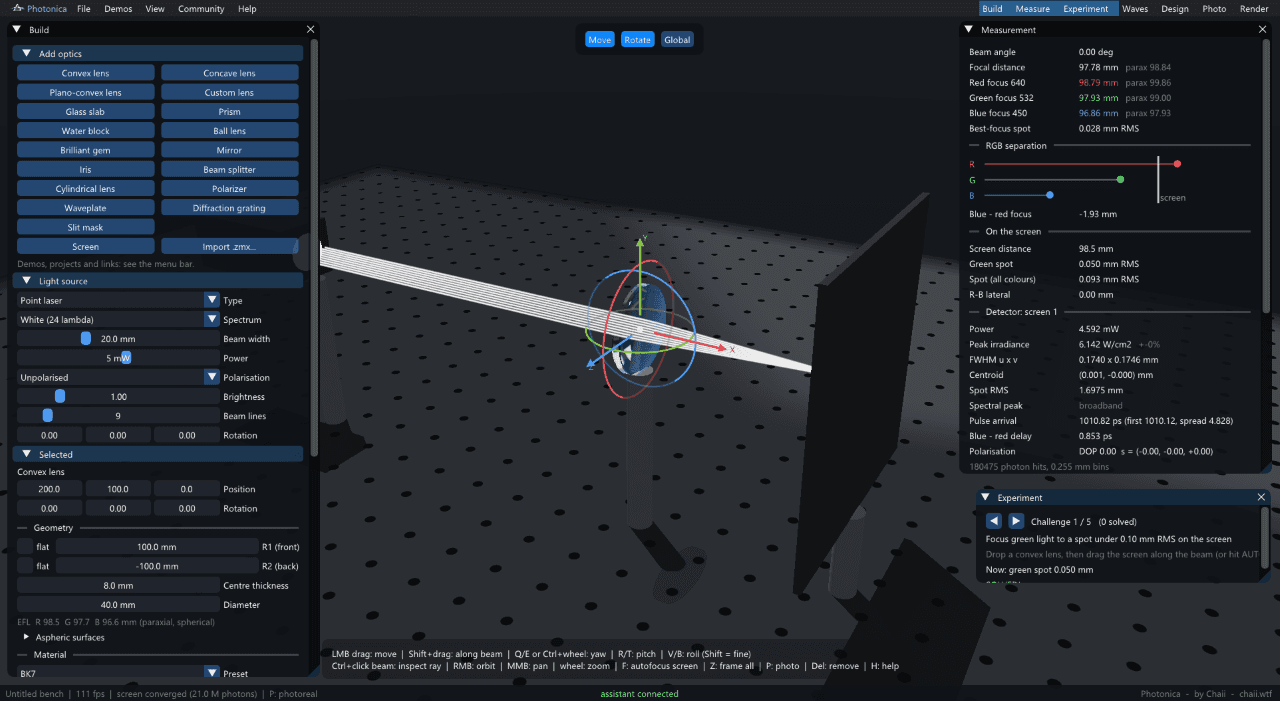
Photonica is one window: a 3D bench in the middle, panels you can toggle around it, and a menu bar across the top. Nothing is hidden more than one click deep.
The menu bar
| Menu | What is in it |
|---|---|
| File | New bench, open, save, save as, open from a link, import a .zmx lens, copy the raw JSON report. |
| Edit | Undo and redo, with a count of what is queued. |
| Demos | Seventeen ready-made experiments. |
| View | Panel toggles, snap-to-beam, focus on selection, the ray inspector, the planet-scale light calculator, the help overlay, and the switch that allows assistant control. |
| Community | Browse benches other people shared, or share your own. |
| Help | About, and a link to chaii.wtf. |
The panels
The tabs on the right of the menu bar switch panels on and off. Any combination can be open at once.
| Panel | What it gives you |
|---|---|
| Build | Add optics, set the light source, and edit whatever is selected — geometry, glass, coating, rotation. See parts. |
| Measure | The instrument readout: focus per colour, spot sizes, the detector, Monte-Carlo path statistics. See measurement. |
| Experiment | Five challenges to solve on the bench, with hints. |
| Waves | Wave mode for the screens, the diffraction limit (PSF, Strehl, MTF), light in flight, and the planet-scale calculator. See waves and time of flight. |
| Design | The optimiser and tolerancing. See lens design. |
| Photo | Photoreal rendering settings. See photo mode. |
| Render | The camera timeline and video export. See rendering video. |
The viewport
The bench is an optical table with a 25 mm hole grid, exactly like a real one. Parts stand on posts. The beam is drawn as a set of ray lines, one per beam line, coloured by wavelength.
Select anything by clicking it. A selected part shows a transform gizmo: three arrows to slide it along an axis, and three rings to turn it. The small toolbar above the viewport toggles Move and Rotate handles and switches between Global and Local axes — local means along the part's own optical axis, which is usually what you want for moving a lens along the beam.
The status bar
Along the bottom: the project name, the frame rate, how many million photons per second the screens are collecting, and how far the current screen image has converged. When an assistant is connected over MCP, that is shown here too.